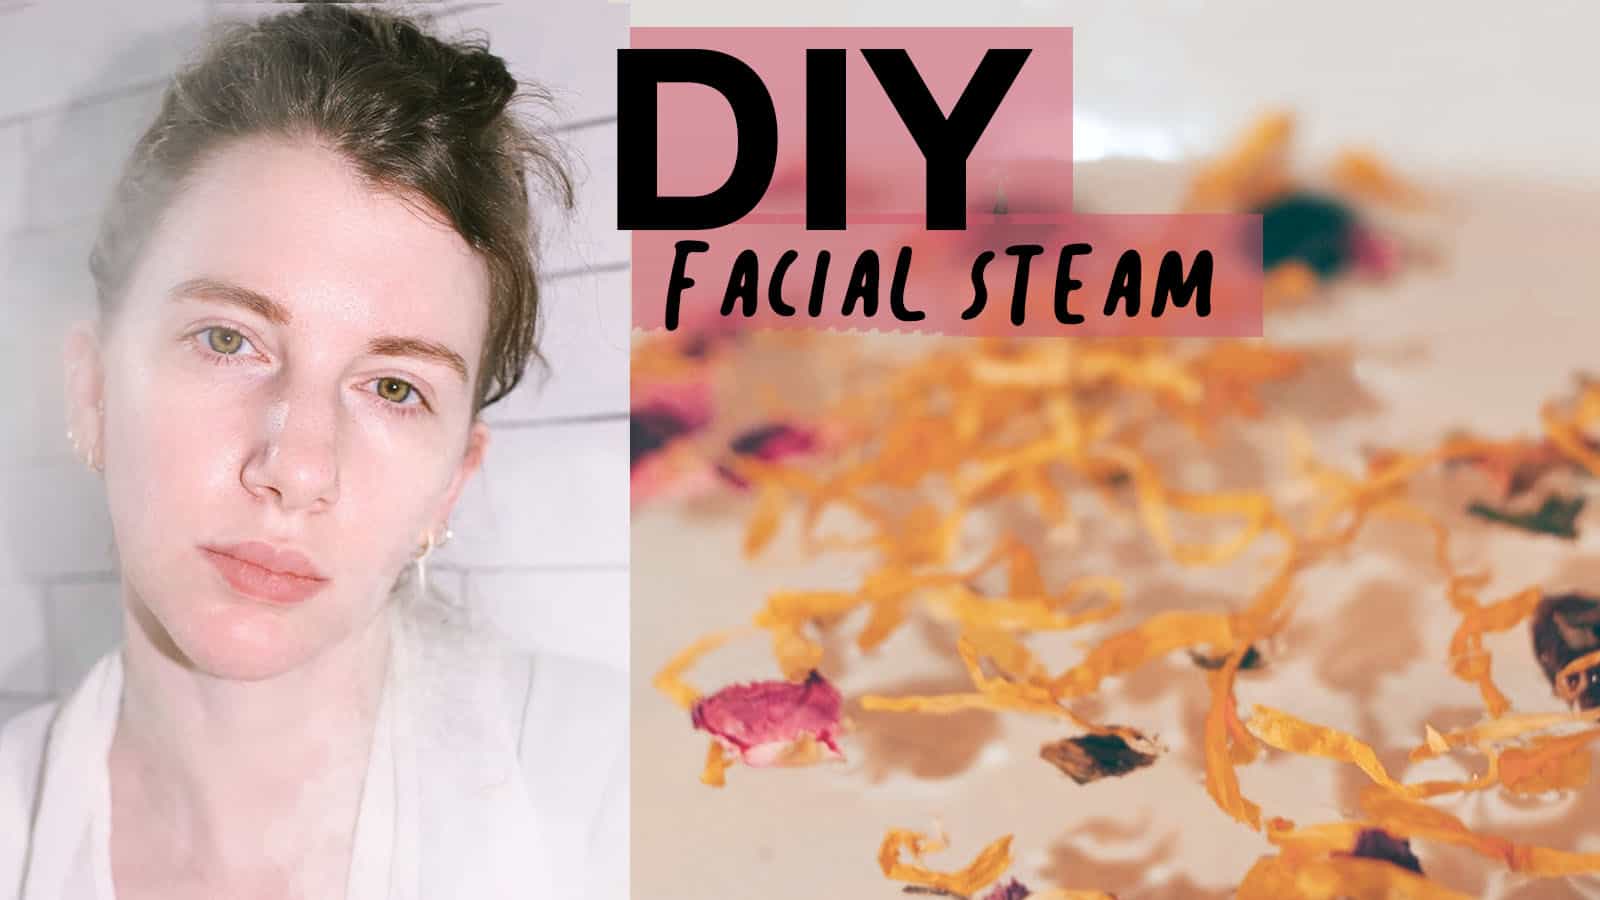
Skincare SOS! How to do a DIY Facial Steam and Facial Steam Recipes
Is your skin getting you down? Or maybe you just need a rejuvenating boost for your skin so you can feel on par with the glossier ads. Either way, a DIY facial steam at home is a great and easy way to revitalize your skin.
The benefits to facial steams are endless and depend largely on the ingredients you include. So make sure to pick the right DIY facial steam recipe for your skin type and to tweak it as you continue to do them if you do not see the results desired.
What do I need for a DIY facial steam?

- Pot to boil water in
- heatproof bowl (worst case you can use the original pot, but you must be more vigilant not to touch it)
- selected herbs and oils ( more info to follow on this)
- clean skin, no makeup on
- towel
- a comfortable place to sit with a flat, stable surface
What are the benefits of a DIY facial steam?
Cleanse:
Sweating out toxins and impurities is one of the biggest benefits to your skin and the facial steam is made for this. It’s like a deep clean for your skin and can help eliminate dirt and bacteria and in turn prevent acne.
Hydration:
Aren’t we all just trying to get that glowy skin? That golden hour glow, except make it 24/7. Inducing sweating and adding in essential oils or herbs helps moisturize and soothe your skin. It promotes circulation and can help increase oil production (the good kind) in your face.
Anti-Aging:
Increasing the blood flow to your skin promotes collagen and the production of elastin. Which, let’s be honest, we all want as much of those youth-inducing effects as possible.
Absorption:
Using your skincare products on your freshly steamed face helps them absorb better. Your pores are open and the skin’s permeability is open so use all those fancy skincare products right after and you’ll be amazed at how well your skin soaks up those beauty elixirs. [skincare steps ]
Soothing/Calming:
Steaming your face is automatically relaxing. The feeling of warm steam on your skin, at home, reminiscent of the spa but more comfortable and affordable. Plus, depending on what your DIY face steam includes a lot of the ingredients (like green tea) have calming effects and essential oils can add an aromatherapy element to it.
we may earn a commission from you clicking a link at no additional cost to you, for the full affiliate policy, click here.
How do I do a DIY facial steam at home?
There are a few different techniques on how to do a DIY facial steam, but for the purposes of this post, I’m talking about my favorite (and IMO the easiest method).
1. Cleanse your face and remove all your makeup. The steam is only beneficial to your pores and skin if you don’t have makeup and the day’s dirt acting as a barrier. You should use a gentle exfoliator as well if you want maximum results. This ensures the dead skin cells won’t block the effects of the facial steam. (no harsh peels!)
2. Set up a comfortable area. I like to use the kitchen counter with a stool that allows me a comfortable place to sit and relax over my facial steam. The kitchen or dining room table also works well. I would avoid anywhere you have to stand or anywhere that does not allow a stable, flat surface for the bowl.
3. Play music in the background on speakers (avoid AirPods for obvious moisture reasons). This helps put you in a good mood and sets a relaxing environment.
4. Bring 4-6 cups ( I average it out and use 5 usually) in a pot to a boil. This also depends on the size bowl you have (remember to only use heat resistant bowls! Cooking Bowls like the below work best)
![]()
5. Once the water beings to boil add your herbs (usually about 1 cup of all the herbs together), and/or beauty tea to the water and stir. To jump to the recipe options click here.
6. Reduce the heat, add a cover to your pot, and let the ingredients simmer for about 2.5 minutes.
7. Remove from heat, add 3-4 drops of your essential oils ( if you are using any)
8. Transfer mixture to a heat-safe bowl. NOTE: If you don’t have a heat-safe bowl then you can use the original pot you boiled the ingredients in. However, be careful to not touch it anywhere besides the handle, and to place a towel or pot holder down on your surface (so you don’t mark your table or counter).
9. Move bowl to your “comfortable spot” set up in step 1. Make sure the bowl is on a flat, stable surface. ( do not place it on your lap!)
10. Immediately drape a towel over your head and bowl, so that it creates a more intense steam.
SAFETY TIP: Keep your face at least 6 inches away from the steam (especially in the beginning when the heat is more intense). This is boiling water and you don’t want to burn your face by being too close.
11. Stay there for 5-10 minutes, enjoy the music or podcast, and relax. Lift the towel if you need to cool off.
12. After you’ve done your DIY facial steam, apply your skincare routine for the best results.
Do I need any special water?
Nope, tap water is fine. You could try a beauty tea base, like these if that is more in line with your skincare needs.
![]() ( I use this one to drink as well for skincare help!)
( I use this one to drink as well for skincare help!)
![]()
DIY Facial Steam Recipes
DIY Facial Steam for Dry Skin
[ps2id id=’facial-steam-recipes’ target=”/]
Dried Calendula flowers, comfrey leaves, chamomile flowers, dried rose petals, dried lavender, and if you want fennel seeds.
DIY Facial Steam for irritated skin (needs calming)
dried rose petals, dried calendula flowers, dried lavender, chamomile flowers, orange peel, dried rosemary, and optional 3 drops of lavender essential oil.
DIY Facial Steam for oily skin or acne-prone skin
rosemary, lemon peel, basil, lavender (or lavender oil, green tea, thyme, and optional tea tree oil.
DIY Facial Steam for aging skin/mature skin
Rose petals, lavender, chamomile, rosemary, and optional frankincense oil.
And some 2 ingredient facial steam recipes for the less enthused DIYer
For calming use rose petals and dried chamomile flowers
For dry skin use calendula flowers and dried dandelion root
For oily or acne-prone skin use hibiscus and basil leaves (fresh)
For dry or irritated skin use bay leaves and lavender flowers
For acne-prone skin use turmeric root and skullcap herbs
Essential Oils instead of herbs: sun lemongrass essential oil and geranium essential oil
What should I do after my facial cleanse?
After you have finished your facial steam, pat your face dry with a gentle, clean towel. Tone your face, and proceed with your everyday skincare post toning. [skincare steps]. Avoid any other masks or exfoliators for the rest of the evening. But serum, moisturizers, and face oils are all encouraged.
How often should I do facial steams?
In the winter try do to do facial steams about once every 2-3 weeks (especially in dry and harsh winters). In summer or warm and humid locations, you can do a facial steam approximately once every 1-2 weeks.
Who shouldn’t do a facial steam?
If you are sunburned, have large parts of broken skin currently, or extremely sensitive skin, facial steams may not be right for you. Check with your doctor or dermatologist for more guidance.
Don’t make me buy all those ingredients, where can I find pre-made facial steams to do at home?
The benefit to making your own concoction is that you will have the ingredients to repeat it at a much lower cost. And, you can customize it for your skin type. But, I get it, so here are some pre-made facial steams.
![]()
![]()
![]()
![]()
Facial steams are a great addition to any skincare regime. They are easy to do, so beneficial to the quality of your skin, and they help maintain that youthful glow.
And, I would pretty much pay anything to get that glow. So, to be able to do it at home, while listening to my favorite true-crime podcast, sounds like perfection to me.
Next time you have an extra 30 minutes (total), or just need a little skincare help, opt for a DIY facial steam. You and your skin can thank me later.
Join my newsletter for the most amazing, exciting, captivating emails ever. Or, just because I promise not to email too much and I promise that when I do email, it’s extra special content you can only find there.
Pin any of the above recipe pins or the image below so that you have this fun DIY for when your skin needs some TLC